Showing posts with label yarn. Show all posts

Monday, December 3, 2012

Crocheted Creations - Turkey Placemats

GOBBLE GOBBLE!

Yes, I realize now that I should have written this one BEFORE the Christmas stockings post. 
Alas, truthfully, I made the stockings first, so we'll say that's why :)


Since I made the freaking awesome Fourth of July place mats, I now want a holiday themed setting for every holiday!!! I think I'll make Christmas ones for next year (I'm sick of red yarn at the moment and I want to do cute Santa's belly/belt ones. How cute would those be????) Anywhoooooooo....

I, once again, went onto Ravelry! There I found these adorable turkey placemats. (PS you might need an account to see the pattern. It's free, and I haven't gotten a single spammy email since signing up!!)

They were super easy and quick to make! At least the bodies were... 
The beaks were pretty quick, but oh em gee, those legs....

I also just realized the only picture I took (they're already up on a shalf packed away) was this one on Instagram. So enjoy the one simple picture I have of a cutey patootey turkey. :)

GOBBLE!

Crocheted Creation - Christmas Stockings

It's that time of year again!!!! Since hubby and I will be moving basically right after Christmas... 
and we have no idea where our lives will take us, so saving is better right now... 
and if the movers can only come before Christmas, than the tree will have to be down early...
 I decided, at the very least, that we would hang stockings!

But wait.

He has his goofy Corps Cadets ones.

I finally got mine from childhood... covered in Mickey Mouses....

And the real reason? They don't match! I like things matching and looking purty! 
So I decided to take things into my own hands (and hook!) and find a pattern :)
 Since we're saving, I also DEFINITELY needed a free pattern. 
I took my tookus over to ravelry and searched!
  These are the ones that were simple, and just perfect! 

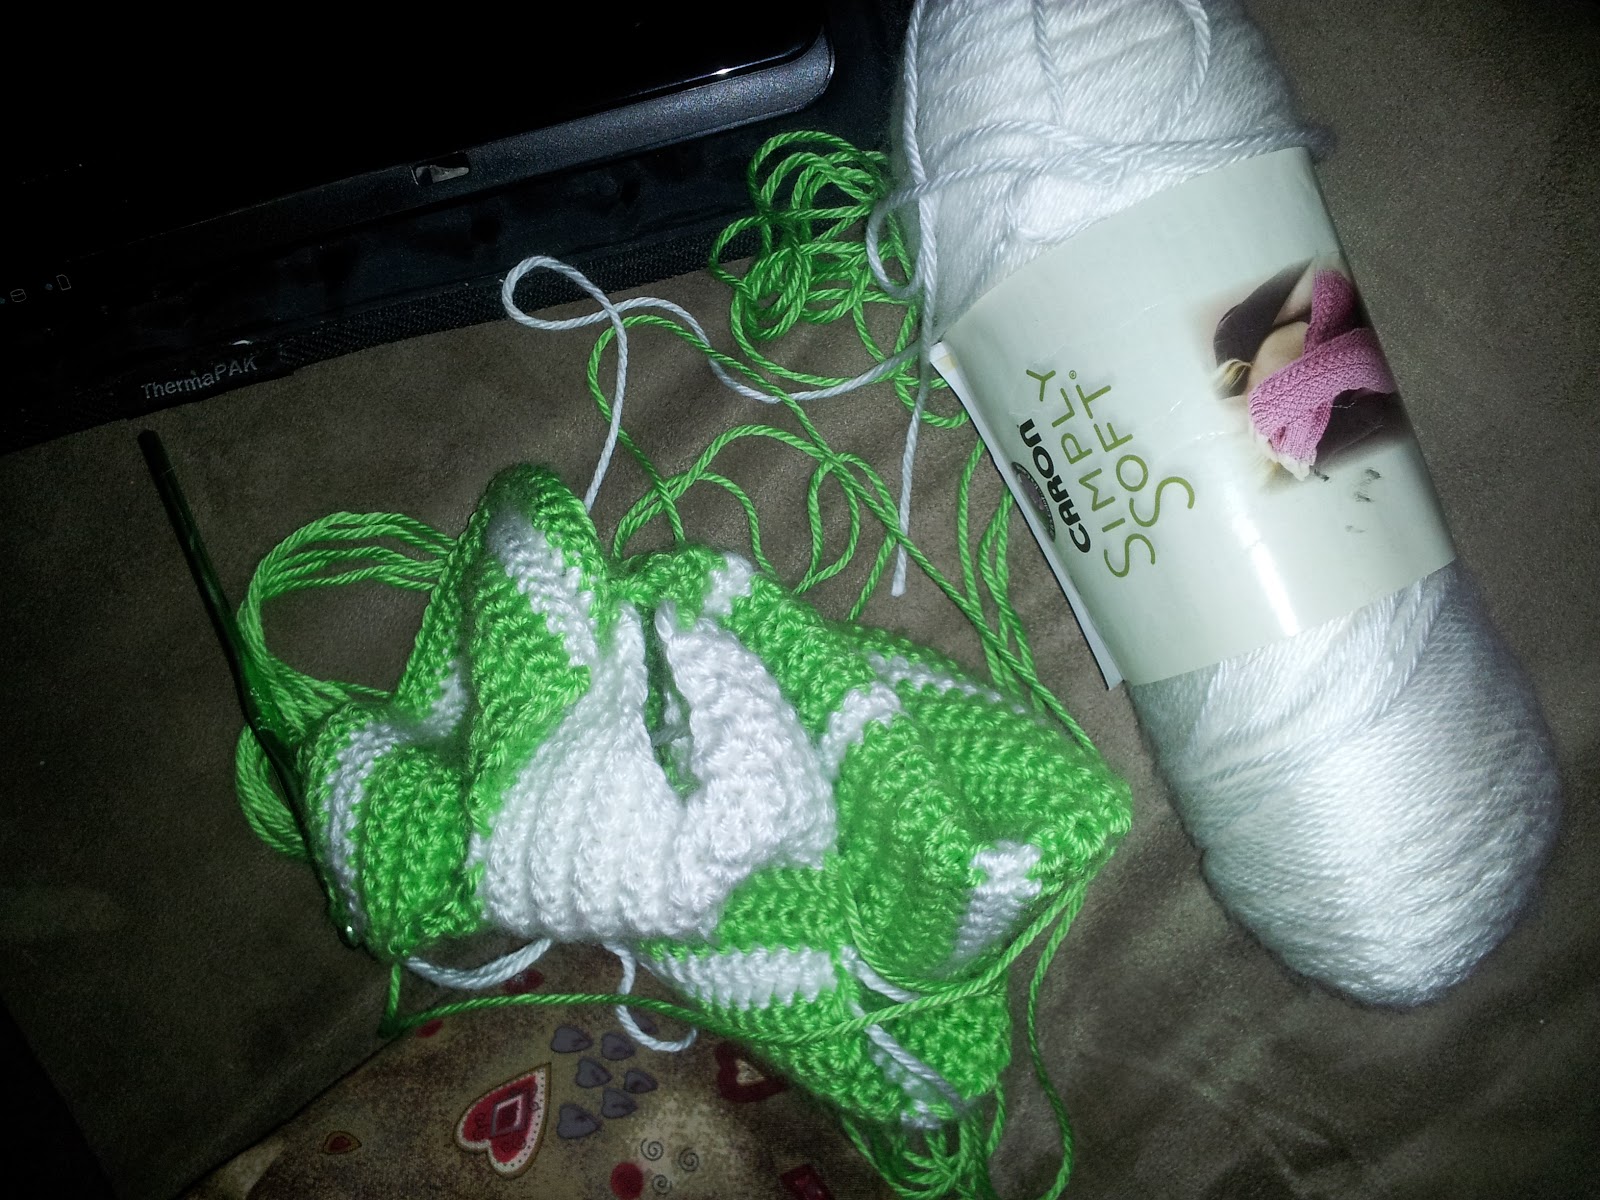
By the way, this is the first time I've ever made stockings. They caused a bit of anxiety in the midst of making them, as I had NO idea if I was correctly following the pattern! I got worried and sent my friend this picture to show how it just kind of looked like yarn vomit to start...


And when my friend started making them, I sent her these AWESOME diagrams to try and explain how to do the hell and then to foot. The only thing I didn't like about the pattern was the fact that there was a "right" side and a "wrong" side. Really, Red Heart?? I have enough trouble trying to tell my rights and LEFTS apart!

Explaining how to go from the heel to the foot. You know. In case you need help as well!

See? Yea it doesn't make much sense...

Honestly, you should have seen the instructions for how to make the toe.
 Lots of boob words thrown around!

Anywho, after making most of it, I of course realized I made too many rows of green 
(the first stocking at least) and redid almost all of the crocheting after the heel.
Once it was finished though, I LOVED it! 
Super fun sewing it together and seeing it really FULLY take shape. 
And after making the first one, it was much easier to make another (and then two for my bestie and her hubs)

Here are the finished results! I hope you enjoy! And if you choose to make these, feel free to ask questions :)

Pretty!
AWESOME stocking hanger from http://www.markandkassie.com/ :)
Miss you guys! Wish we could do another ugly sweater minute to win it party!!
(that's right, we won that gorgeous baseball-playing Santa!)


Sunday, September 16, 2012

Crocheted Creation - Diaper Bag

Unfortunately, this will be lacking in some pictures. Like I think I only have one "in between" except for the final eff up. Anywaaaaay, my good friend Mandy is pregnant (due date in four weeks, eeeeee!) and back when I learned of her knocked-up status, I told her I wanted to get her a diaper bag. Super nice friend, right? Yea, I'm a super AWESOME friend, but not one with HUNDREDS of dollars to spend on a dang bag! And those were on sale.... Soooo then I almost made her a star blanket . Like to the point that we picked out super cute colors and everything!

But why do that? Why make something she KNOWS I'm making for baby Emeline? So I decided to surprise her. And of course waited until the last minute. And little did I know this project would take a REALLY good amount of time. But dang it, I promised her a diaper bag, and I was going to deliver! So out of, I think, the THREE patterns on ravelry that were for crochet, had a picture, and were free, there was thank God ONE that didn't look like yarn took a giant poo. And it was this one: http://www.lionbrand.com/patterns/HookedBags.html#materialsMenu
And here is the picture I had to go off of, so you can giggle at some of the mistakes that I made along the way... like the first one being gauge. I was CLOSE to the gauge they wanted. But had to make my own measurements for half of the things after I got the first sides done to make everything work. Oops? Ah well.
SUPER cute right? So in love ♥
So yes. Awesome. I really had no idea how LONG it would take to make two big sides, two pockets for those, a long gusset (and yes, this is the pattern where I learned just what a gusset was. Who knew?!), pockets for the sides, and handles, all doing single crochet, double crochet, single crochet, double crochet..... But it was worth it! Seeing everything start to come together was so great! 

Soon, I was done the sides, pockets, and gusset. Time to start on the handles!!!


We all saw from the pattern picture that the handles are different colors, right?... Yea.... I guess I was a little purple hungry (that was the main color (MC) for this project. The contrast color (CC) was green. So yaaaay I'm DONE the major crocheting! I made the handles! And then I swore. A lot. I mean lots of profanity. Then I learned a fun pinterest tip of using a clothes pin for spare yarn, so I took apart and used on to roll up the rest of the purple yarn from the handles! And I began it in green! Yes, no other way to screw up! I make it, put it all together, and I'm grinning because I'm so happy I made it! It felt weird to hold it the way the handles were, but no biggy, I'm sure it was meant to be that way........


Effffffffffffff
Ok one, ignore the fact that it doesn't have a button yet. That was the last thing I needed! Then I FINALLY realized that I had done the handles wrong. While they were SUPPOSED to just be one length curved up and then back down on the same side, I made one handle go one side straight back to the other. I was MAD. Either way, thank God it was easy to actually unsew it and redo it! An hour or so later, and thankfully with a cute green button, the final project emerged! She liked it, and I hope she realizes that she can throw it in the washer and dryer and it'll come out just as awesome (or it should. I really shouldn't jinx myself on this.)


And that's that :) As much as it takes forever to make, I'm so excited with the simplicity of the pattern and how well it turned out! I can't wait to make another for the next close friend whose eggo gets preggo. :)